First Steps

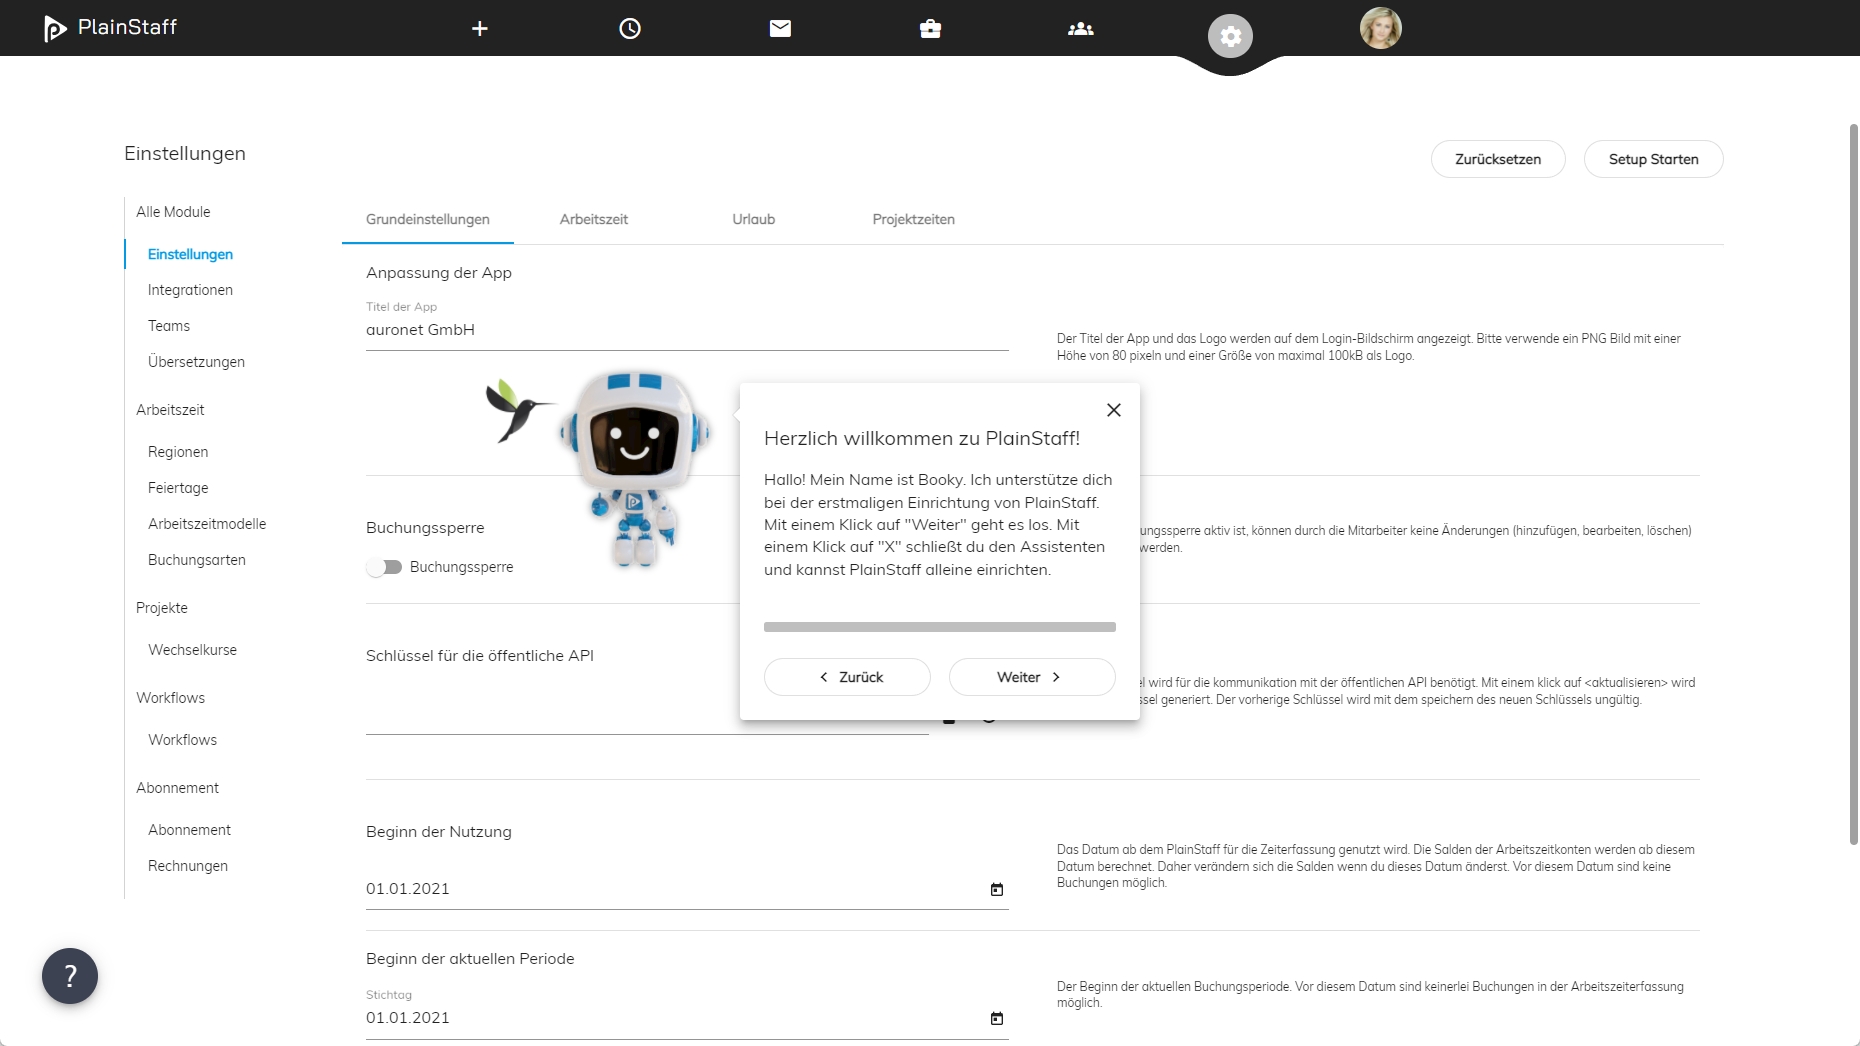
A good start for when you are using Plainstaff for the first time is the setup-assistant Booky. Booky introduces itself, the first time you bootup Plainstaff. If you require Booky’s services at a later date, head over to “start setup” on the site “settings”. It will guide you through all the necessary configurations that are reuired to properly tailor Plainstaff to your needs.
At the beginning Plainstaff is filled with Test data, allowing you to begin testing immediately. This data will have to be deleted before Plainstaff can be productively used. This can be achieved via the tool “reset to default” that can be found in the “settings” menu. Following data will then be deleted:
- Every Employee except for yourself
- Every team except your own
- All time recording data
- Every project and customer
- Every Workflow
First steps for the work time module
Following configuration steps should be done before using the work time module
- Add teams
- Add a few regions
- Add perhaps also additional holidays or company holidays
- Check if you need to add some booking types to the time recording
- Add several work time modules
- Customize the settings, especially the start of the current booking time period and the booking rules
- Add several employees to the app, that are supposed to use it
First steps for the project module
Following configuration steps should be done before using the project module
- If you are running the program in foreign currency, add the necessary conversion rates
- Customize the settings, especially the start of the usage and the local currency
- Add several employees that are supposed to use the app
- Add the projects and customers on which the employees are supposed to be able to book on or import them from your ERP system.
First steps for the absence system
To use the absence system you should, additionally to the steps for the work time module, specify the holiday entitlement of the employees. The first way to specify the aforementioned holiday entitlement, is uniformly for all employees in the settings menu or secondly for every employee specifically, directly at the employee.