PlainStaff & Dynamics 365 Business Central Integration

Sales Invoices
About Dynamics 365 Business Central
Connect sales, service, finance, and operations to work smarter, adapt faster, and deliver better performance. With the help of PlainStaff integration, it is possible to generate corresponding invoices from recorded project times in Business Central.
The highlights include:
- Applicable on any device, anywhere
- Easily customizable and extendable solution
- Speed up reporting, cycle times, and financial closing
- Role-based workspaces and workflow guidance
- Enhanced productivity through integration with Microsoft 365
- Sales forecasts based on historical data
- Real-time data visualization
- Integrated Business Intelligence
Create your free account now at dynamics.microsoft.com and get to know Dynamics 365 Business Central.

Connection to Business Central
The connection between PlainStaff and Business Central is quick and easy to establish:
Microsoft Entra ID
- First, you need to set up a Microsoft Entra app for PlainStaff to access Business Central. For this, you require Global Admin rights on your Microsoft 365 tenant. First, open the relevant blade in the Azure Portal and click on "New registration".
- Enter any name and click on "Register".
- On the overview page, you will see two important pieces of information that you should copy immediately, as we will need them later: ClientId and TenantId.
- Then click on "Certificates & Secrets" in the left navigation and then on "New client secret". Please copy the entry in the "Value" column immediately as we will need this later.
- Finally, click on "API permissions" in the left navigation and add the following two permissions for Business Central (each under Application Permissions): app_access, API.ReadWrite.All.


Business Central
- Now, we need to make our new app known in Business Central and assign it permissions.
To do this, open the page for Entra Applications in Business Central.
Add the new PlainStaff App registration (you'll need the ClientId from the previous step).
After activating the app registration, assign it the following permissions in the table below:
- D365 ACC. RECEIVABLE
- D365 BASIC
- D365 INV DOC, CREATE
- Now download the PlainStaff Addin for Business Central from the Microsoft App Store.
After installation, the PlainStaff settings page will automatically be displayed. If not, you can easily find it
by typing "PlainStaff" in the search. On the page, enter the remaining information
from Entra ID and PlainStaff:
API Key This is the API key from PlainStaff. To find it, click on the gear icon in the top right corner of PlainStaff. You will find the API key in the middle of the "Basic Settings" page. Tenant Here you enter the name of your PlainStaff tenant. This is the organization you can find in the settings in PlainStaff. It is usually the first part of your PlainStaff URL (e.g., https://mytenant.plainstaff.com). ClientId This is the client ID of your Entra app registration, which you created and noted in the previous step. Enter it here. ClientSecret Finally, enter the client secret of your Entra app registration, which you also noted in the last step. - Finally, click on the "Check Connection" button. If a success message appears, the setup in Business Central is complete. If there is an error message, review the documentation and all entered parameters and try again. If that doesn't help, send an email to support@plainstaff.com.


PlainStaff
- Now switch to PlainStaff and open the settings dialog for the Business Central extension. To do this, click on the gear icon at the top right and then on Extensions in the left navigation.
- With the option "Print project notes on the invoice", you can specify that the "Notes" field of the projects in PlainStaff will be printed on the invoice in Business Central. This can be used, for example, to include the customer's order number or cost center on the invoice.
- The next option allows you to decide whether the items from Business Central should also be transferred to the left. If yes, you can further filter the items by category.
- With that, the settings are complete and nothing stands in the way of invoicing.

Using the Integration
Through the integration with Business Central, PlainStaff gains the following new features:
- In PlainStaff, customers can be imported using the double-arrow button next to the customer selection box in the project dialog. Only these imported customers can be used for later invoicing. The import can be performed as often as needed. Already imported customers will be updated with the new information. More information on this can be found in the Help section.
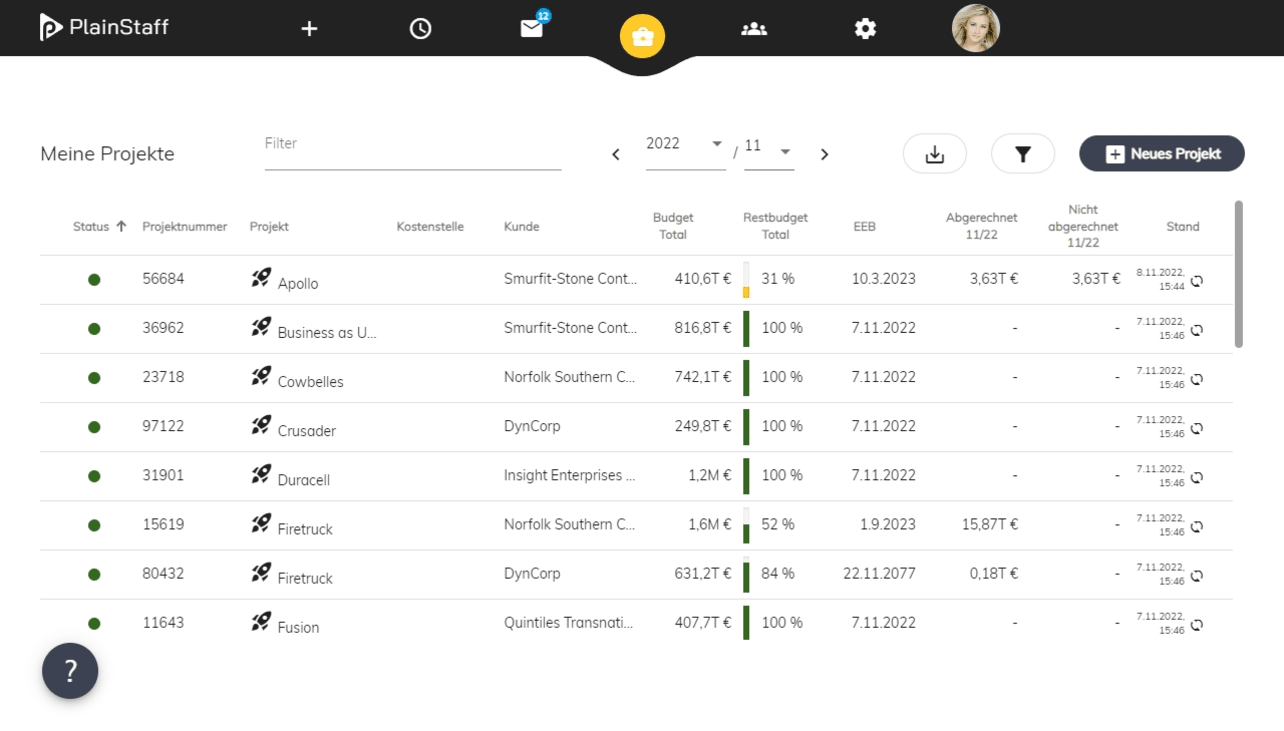
- In PlainStaff's project management, the project times recorded in PlainStaff can be selected, grouped, and exported to Business Central for invoicing. More information on this can also be found in the Help section.